Frequently Asked Questions
Which grade of stainless steel to use
The commonly available grades of stainless steel that are available in South Africa for Architectural fabrications are Grade 304 and Grade 316.
- Stainless Steel Grade 304 is suitable for use internally and externally in inland areas.
- Stainless Steel Grade 316 has a higher resistance to corrosion than grade 304, and is better to use in external applications in coastal areas, or next to swimming pools.
While it is difficult to define the extent of 'coastal areas' we would recommend as a guideline the entire coastal plain for a distance of about 100km from the sea, or the area contained between the sea and the first coastal mountain range.
For more information of grades of stainless steel, try Wikipedia http://en.wikipedia.org/wiki/Stainless_steel.
What about Colored Signs
If you require your sign to have a color we typically use a material called 3Cr12. This is a type of stainless steel that has to be powder coated or painted, and then is extremely corrosion resistant. We can have your sign powder coated to an available color or spray painted to a colour of your choice.
Which mounting method to use for Savy Design Signage
Savy Design typically supplies signs with a choice of two mounting methods:
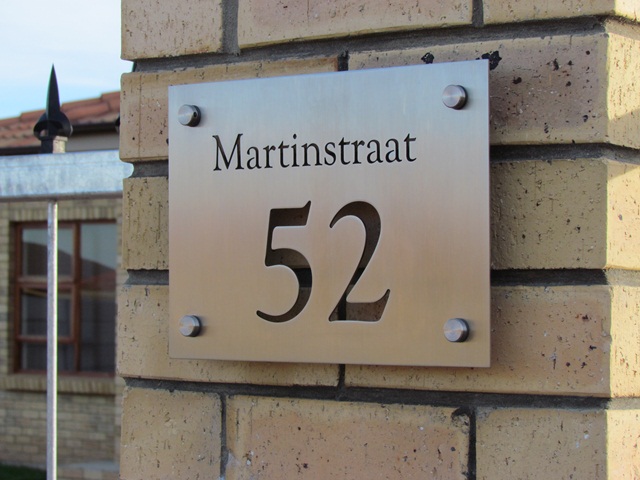
1. Signage Mounting Spacers (standoffs) are machined stainless steel fittings that are cosmetic in their design and are visible around the periphery of the installed sign. They mount the sign 25mm off the wall. They have the advantage of being easy to install with basic DIY tools. They are 2 part fittings, with a 'body', that is fixed to the wall with wall plugs, and a fastening cap which screws through the sign and into to the body. The disadvantage of them is that they can unscrewed easily and the sign can be stolen.
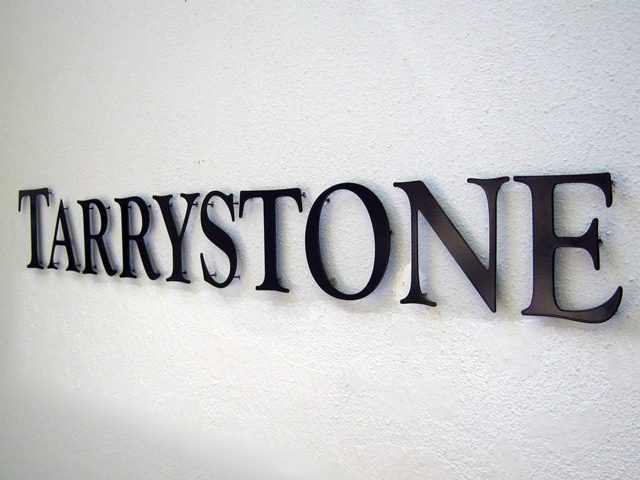
2. Mounting Studs can be welded behind the sign, which are not visible from the front, and which are bonded into holes in the wall. These studs are typically 5mm in diameter an 70mm long. The advantage of this
fixing method is that if correctly installed, the sign will be difficult
to remove. The disadvantage is that more skill and patience is required
to install.
- Holes have to be drilled into the wall in positions that correspond to the stud positions, so hold the sign against the wall (using a spirit level to ensure it is level) and mark the positions of the studs on the wall.
- Drill the holes in the wall (normally with an 8mm drill bit), and blow the dust out of them using a bicycle pump, or else by inserting a drinking straw into the hole and blowing.
- Trial fit the sign. If required, ream the holes bigger until the sign can be suitably positioned. Normally the sign is mounted about 15mm away from the wall.
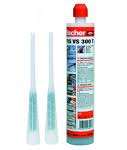
- The generic name for the product that is used to bond the studs into the wall is 'chemical mortar'. A description of it is below. Inject
the chemical mortar into the holes, and position the sign. If
necessary, hold it in position for about 10 minutes for the chemical
mortar to set.
- When set, clean the sign as described in the section on cleaning finger marks and scratches below.
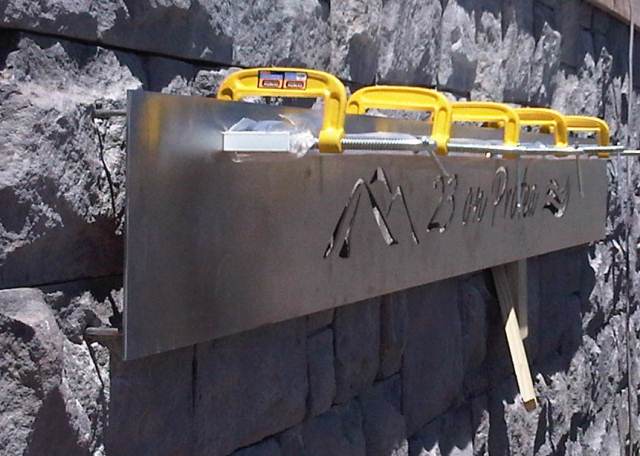
- For long & flexible signs, it is best to clamp the sign to a straight edge while installing to enable it to stay straight while the chemical mortar is setting.
What finishes are available on stainless steel
At Savy Design, we typically offer the stainless steel in a brushed finish, but for some items can do a highly polished finish as well.
A brushed finish is a matt finish, where the surface of the stainless steel is treated with a series of abrasives, resulting in an even finish of fine brush lines, all running in one direction.
For a highly polished finish, the stainless steel is mechanically buffed to bring out a shine. This has the advantage of offering better resistance to corrosion when in close proximity to the sea or a swimming pool. There is a disadvantage in that the shiny surface amplifies all distortions caused by the fabrication and the heat of the polishing process, and is therefore not ideal on flat surfaces like a sign or letterbox.
Care of stainless steel
What to do about finger marks
After installing it is inevitable that the stainless steel will show unsightly fingermarks.The best way to remove them is to wash the stainless steel with the same solution that you wash your dishes with, and dry with a soft cloth.
What to do about scratches
With brushed stainless steel items, light scratches can be removed by rubbing the scratched area with scotchbrite. This is the coarse green-colored material on the back of a kitchen sponge. But most importantly rub in the direction of the grain of the brushed finish. For stubborn scratches, some sand paper can be used before the scotchbrite.
What to do about rust stains
In aggressive environments (like coastal areas), the surface of the stainless steel can become covered with rust stains which run in the grain of the brushed finish. This is normal and a cosmetic problem only, called 'tea staining'. The best way to prevent this from happening is to wash the item frequently. To remove tea staining, a mildly abrasive stainless steel polish like Autosol Marine Shine can be used, or an automotive burnishing compound. The mild abrasive in toothpaste also works. Another method is to wash the stainless steel with clean water, and then apply and keep the stainless steel moist with a phosphoric acid solution (or vinegar also works) for about 90 minutes until the rust stains disappear. The Australian Stainless Steel Association always has good information on tea staining in stainless steel, for example http://www.assda.asn.au/technical-info/technical-alerts/tea-staining.
Another valuable source on stainless steel related issues in South Africa is the South African Stainless Steel Development Association.